Introduction
Snel.com offers a Web-based firewall solution to our VPS customers which supports IPv4 and IPv6. By enabling a set of rules you can easily protect your server(s). In this article, we are only handling ports that are commonly used for a firewall configuration.
Prerequisites
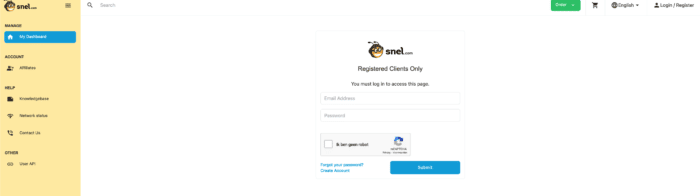
Step 1 – Log in to your client area
https://my.snel.com/clientarea/
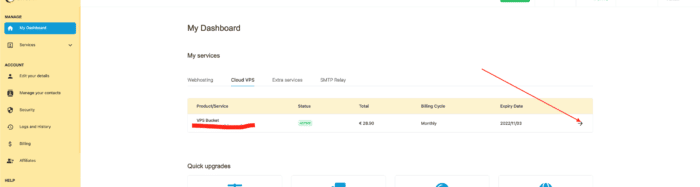
Step 2 – Cloud VPS
Click on the Cloud VPS server that you want to configure.
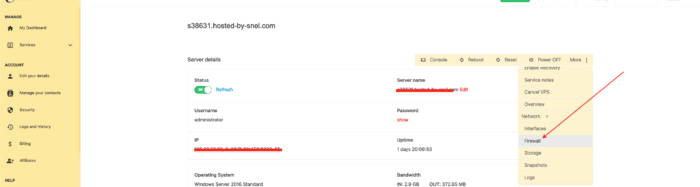
Step 3 – Enable firewall
By default the VPS firewall is disabled. Enable this by navigating to Network -> Firewall -> Options
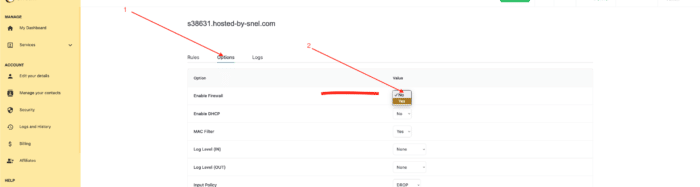
Change the following value Enable Firewall from No to Yes. Click Save Changes to enable your Cloud VPS firewall.
Step 4 – Samples Firewall Rules
Go back to the Rulestab in order to create firewall rules.
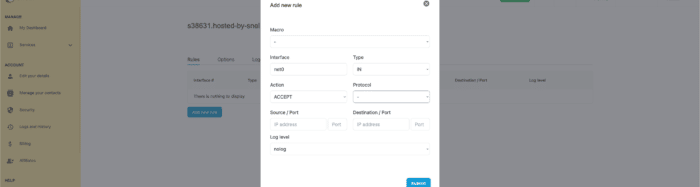
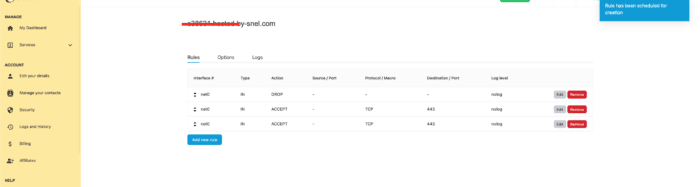
Step 4.1 – Block all traffic except for web server (port 80 & port 443)
Interface Type Action Source/Port Destination/Port Protocol
net0 IN ACCEPT empty:empty empty:443 TCP
net0 IN ACCEPT empty:empty empty:80 TCP
net0 IN DROP empty:empty empty:empty -
Step 4.2 – Block all SSH (port 22) traffic except for a specific IP(s)
Interface Type Action Source/Port Destination/Port Protocol
net0 IN ACCEPT 192.168.1.100:empty empty:22 TCP
net0 IN DROP empty:empty empty:22 TCP

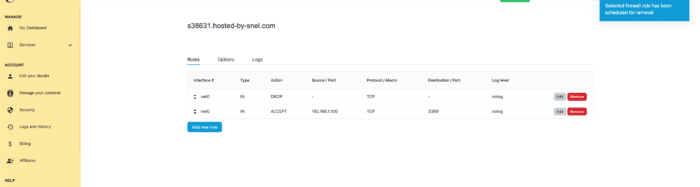
Step 4.3 – Block all RDP (port 3389) traffic except for a specific IP(s)
Interface Type Action Source/Port Destination/Port Protocol
net0 IN ACCEPT 192.168.1.100:empty empty:3389 TCP
net0 IN DROP empty:empty empty:3389 TCP
Conclusion
Congratulations, you have now configured the firewall for yourVPS server. If you need further assistance with configuring your firewall for your VPS do not hesitate to contact our support team.

Leave a Reply