Introduction
LiteSpeed Cache Crawler is a powerful tool that can help you improve your website’s performance by crawling and caching your website’s pages. It’s easy to install and use, and can make a significant difference in your website’s speed and overall user experience. Here’s a detailed guide on how to install LiteSpeed Cache Crawler
What is the cache crawler?
The LiteSpeed Cache plugin for WordPress, which is made to enhance the functionality of WordPress websites, includes a component called the LiteSpeed Cache Crawler. By visiting each page and caching its data, the crawler is in charge of creating the cache for a WordPress site.
The LiteSpeed Cache plugin checks to see if a cached copy of a page is accessible whenever a user views a page on a WordPress website. If there is, the user will receive the cached version rather than a freshly created page. This can significantly lessen the server’s workload and enhance the website’s functionality.
The generation of the cache for each page on the website is done by the LiteSpeed Cache Crawler. It functions by going to each page and examining its content, including any dynamic elements that might be produced by plugins or themes. After that, the crawler creates a static version of the page and caches it.
A wide range of additional functions, such as browser caching, image optimisation, and the minification of CSS and JavaScript files, are also included in the LiteSpeed Cache plugin to enhance the functionality of WordPress sites. All of these features are intended to lighten the server’s burden and enhance the website visitor experience.
Prerequisites
Step 1: Download and Install LiteSpeed Cache Plugin
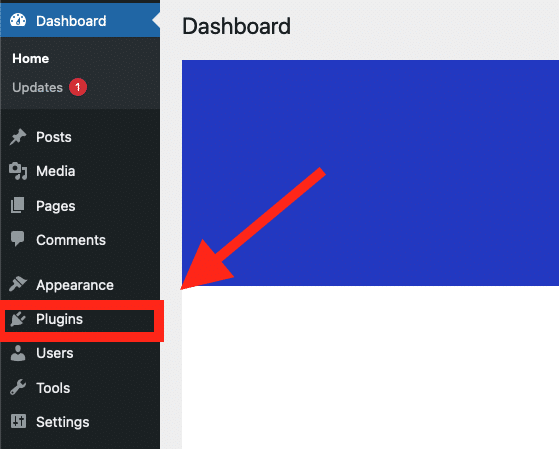
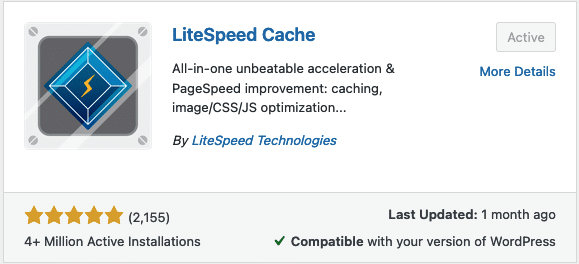
The first step in installing LiteSpeed Cache Crawler is to download and install the LiteSpeed Cache Plugin. You can do this by logging into your WordPress dashboard and navigating to Plugins > Add New. In the search box, type LiteSpeed Cache and click on the Install Now button.
In the search box, type LiteSpeed Cache and click on the Install Now button.

Once the plugin is installed, click on the Activate button to activate it.
Step 2: Activate LiteSpeed Cache Crawler
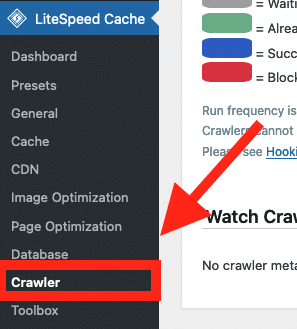
Once LiteSpeed is installed, navigate through the LiteSpeed Dashboard and select Crawler.
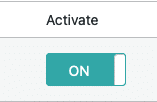
On the right of the screen you will see Activate with a on/off switch button, make sure to turn it ON.
Step 3: Enable LiteSpeed Crawler Cron
Next up you have to enable Crawler Cron, to do this head to the General settings tab and on the first option you will be given the option to turn it on/off.
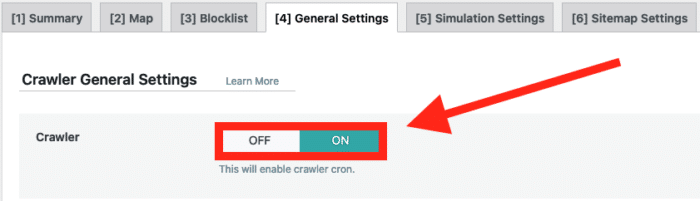
Click ON to enable the Crawler.
Step 4: Configure the sitemap
By configuring the sitemap, the crawler will know which pages are available and can then cache them properly.
To Configure this, you can head towards the tab that says Sitemap Settings.
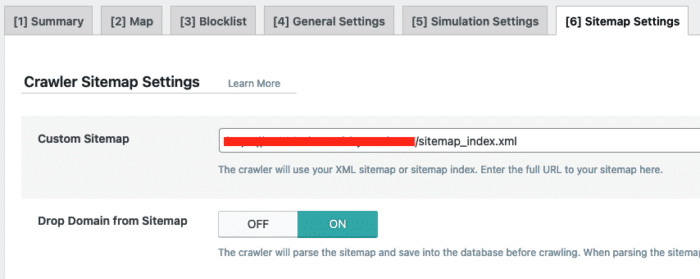
Put in the custom sitemap and click Save changes.
Note: make sure you have an active sitemap, otherwise you cannot proceed further.
Next we will have to load in the sitemap, click on the tab that says (2) Map.

From there on the right you will see Refresh Crawler Map.
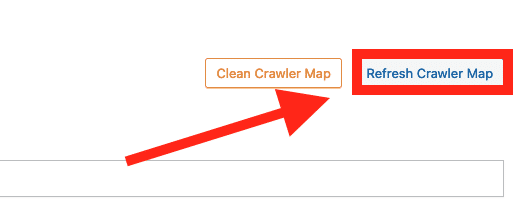
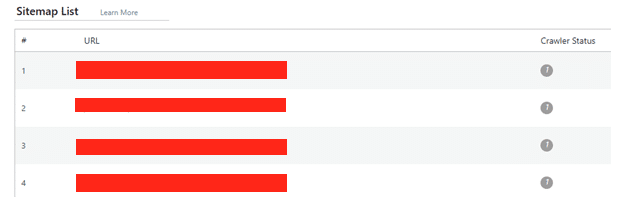
Afterwards you will see if you have a valid sitemap with content.
Step 5: Configuring the crawler itself
On the tabs you will see General Settings, this step is going to be important, if the crawler isn’t configured properly then this will cause some issues.
There are gonna be 3 things we need to keep an eye on:
- How often do we want the crawler to run?
- How much time in between the runs?
- When should the crawler restart its run with the possibility to take extra pages/products along in the cache?
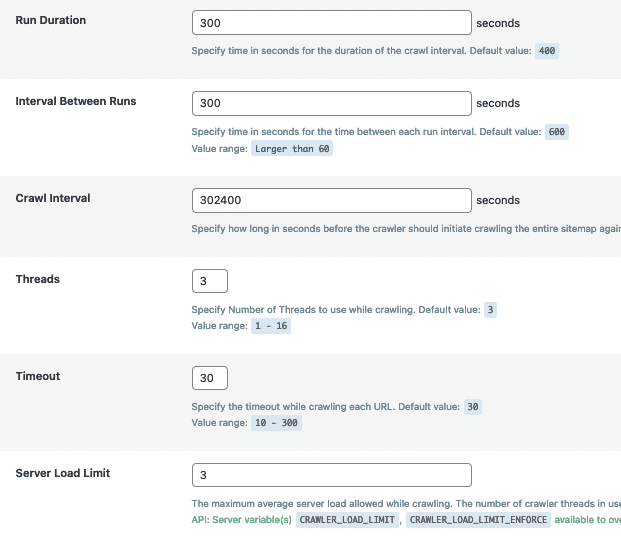
There are 4 important settings we will adjust, those will go as follow:
- Run duration: As it says, this will be how long the crawler runs for, in this case we are setting it to 300 seconds(5 Minutes)
- Interval Between Runs: This is a pause between runs, we will also adjust this to 300 seconds.
- Server Load Limit: We will set the load limit from 1 to 3.
Make sure to double check everything, and if you have your own preferred settings, you can use those too.
Step 6: Monitor and Manage LiteSpeed Cache Crawler
While the LiteSpeed Cache Crawler is running, you can monitor its progress and manage it.
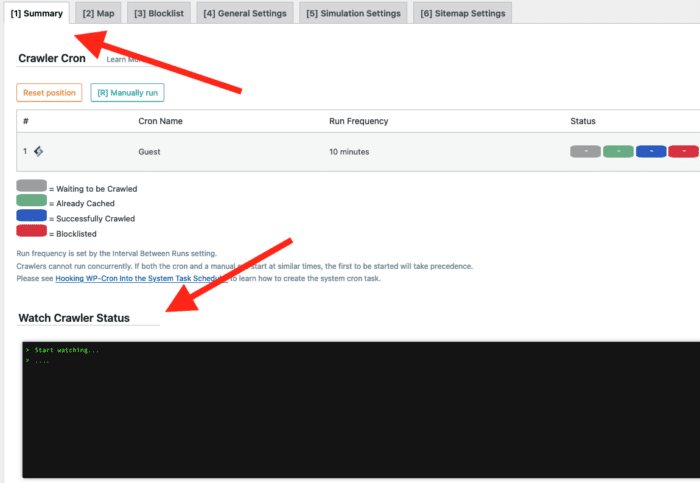
To run a proper test, click on the button that says [R] Manually run.
To do this, navigate to LiteSpeed Cache > Crawler from your WordPress dashboard, on the first tab Summary you can watch the Crawler status.
Conclusion
In conclusion, LiteSpeed Cache Crawler is a strong tool that can assist you in enhancing the performance of your website by caching its pages. You can quickly install and start using LiteSpeed Cache Crawler to increase the speed and usability of your website by following these steps.

Leave a Reply