Introduction
The purpose of this article is to show you how to install and configure Imunify360 on your server. After you have purchased the license for your server, which is an easy proces, add to your server as Extra Software > Licenses and after you have purchased it, install the agent on your server.
Prerequisites
- A Cloud VPS, Pure Performance VPS or a Dedicated Server with Plesk
- SSH root access or Admin access to Plesk User Interface
Step 1: Log in using SSH
You must be logged in via SSH as root user. Please read this article for instructions if you don’t know how to connect.
Step 2: Prepare server
DirectAdmin comes with CSF (Config Server Firewall is a free and advanced firewall for most Linux distributions and Linux based VPS) and LFD. It is important to disable LFD, otherwise you will get false positives. To disable LFD give the following commands:
sed -i 's|^LF_DAEMON = "1"|LF_DAEMON = "0"|g' /etc/csf/csf.conf
sed -i '/^lfd=/d' /usr/local/directadmin/data/admin/services.status
service directadmin restart
csf -tf
csf -df
csf -ra
This will make sure that LFD is disabled and will not be checked by DirectAdmin service checking. It will also empty the current IP bans of LFD.
Step 3: Installing the Imunify360 agent
After you have accessed your server run the following command from the command line to register the Imunify360 agent.
wget https://repo.imunify360.cloudlinux.com/defence360/i360deploy.sh -O i360deploy.sh
bash i360deploy.sh
Wait for the script to finish the installation before proceeding with the next step. Note: After the installation it is advisable to clean up the installation file in this case by running the command:
rm -rf i360deploy.sh
Step 4. Login to Direct Admin
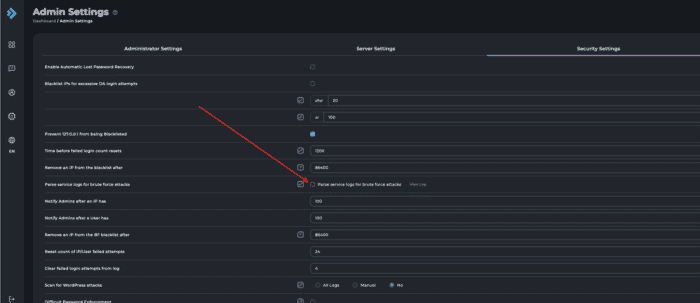
There are several important configurations needed in Direct Admin in order for Imunify360 to work properly. The first one would be to turn off the brute force parsing option in Direct Admin under the Settings>Server Setting
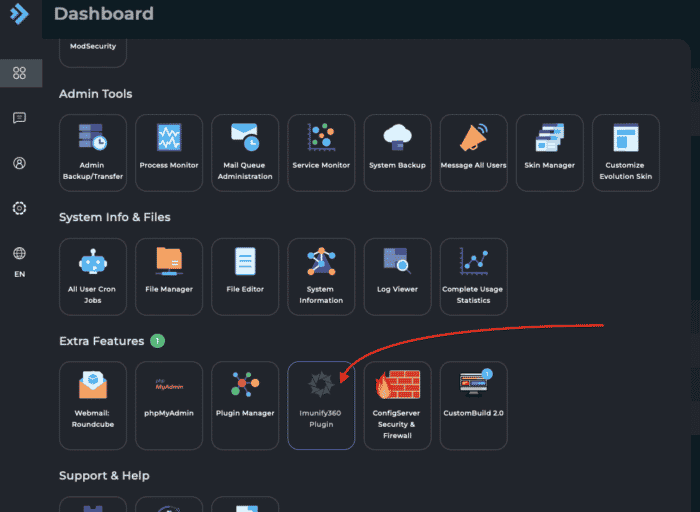
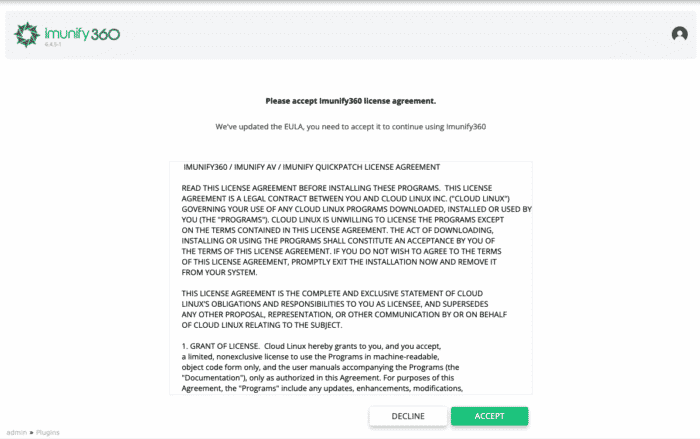
Locate the Imunify360 shortcut to the plugin which can be found in Extra features within the Direct Admin. The first time when using Imunify360 you will be presented with the pop-up message with EULA Agreement to accept.
Step 5: Configure Imunify360
Imunify360 has its own built-in firewall which we need to configure properly in order to avoid the issues. So let’s started with the third party integrations. When CSF is used you need to enable the “3-rd Party Integration” which can be enabled through “Imunify360 -> Settings -> General”
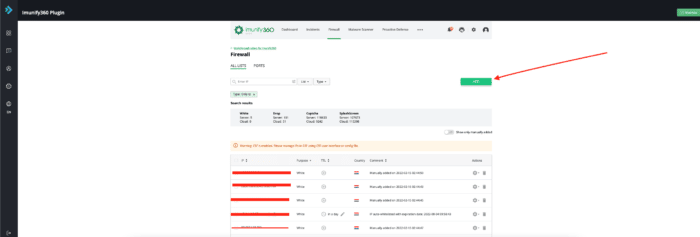
Step 7. Whitelist IP in Imunify360
Imunify360 has its own IP firewall in which it is important to add your own IP address(es). You should consider adding your own IP address to the whitelist to prevent locking yourself out. You can read more about this in this article.
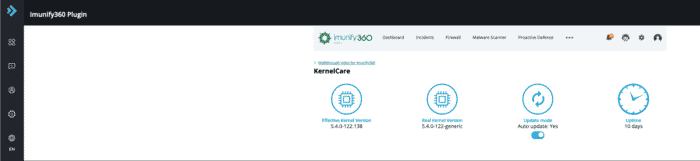
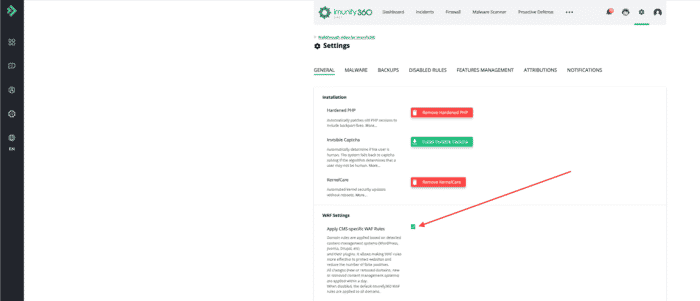
Step 6: Kernelcare
Imunify360 comes with the Kernelcare integration. You can install Kernelcare without any extra cost. It is located under: “Imunify360 -> Settings> KernelCare”
When Kernelcare is installed, check if it’s working. Navigate to “Imunify360 -> Kernelcare”.
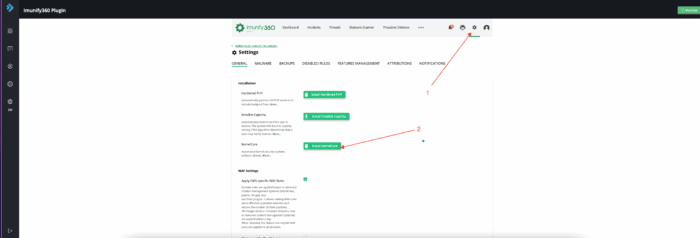
Step 7: CMS and WordPress settings
In following steps we advise you to go through the settings on each service within the Imunify360 and set up the correct values. Navigate to “Imunify360 -> Settings -> General”. Check the following options:
Hardened PHP
WordPress recommends everyone update their PHP versions, but this is often not possible. HardenedPHP keeps your customers and servers safe by patching all PHP versions against known vulnerabilities. HardenedPHP secures old and unsupported versions of PHP. If you want total control over hardening your PHP (and total control over the security of your web platform), it’s not a bad idea to move to Dedicated or VPSs as soon as possible.
NOTE: Activating this feature may cause your application not to function properly so be advised to consider all the aspects before applying these settings into your production environment.
WAF Settings
Apply CMS-specific WAF Rules = Enabled
Minimized ModSec Ruleset = Disabled
WordPress Account Compromise Prevention = Enabled
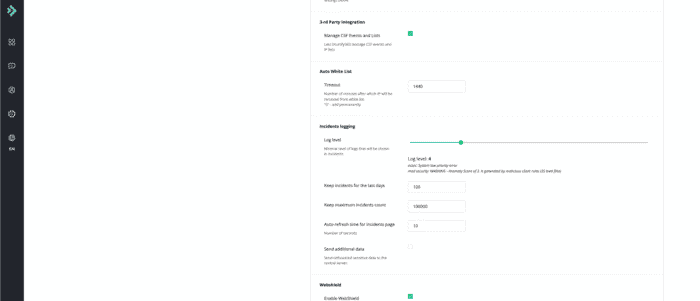
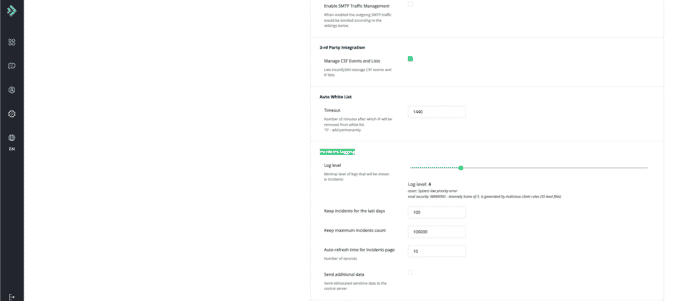
DoS Protection
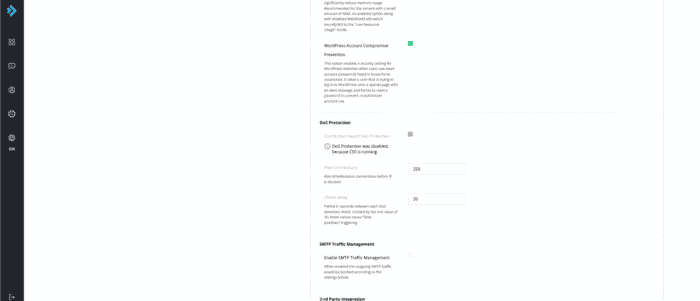
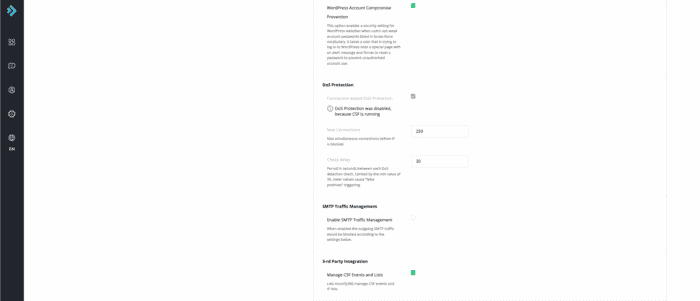
Log level = 4
Keep incidents for the last days = 100
Keep maximum incidents count = 100000
Auto-refresh time for Incidents page = 10
Send additional data = deselected
Webshield
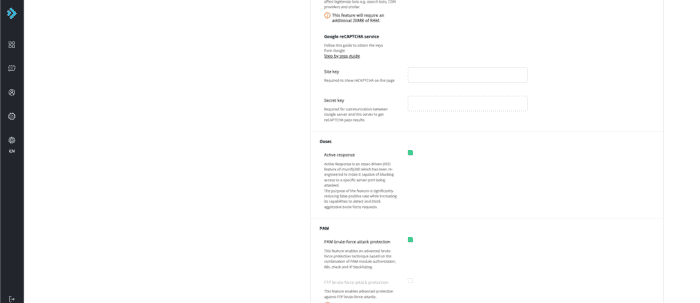
Enable WebShield = Enabled
Detect IPs behind CDN = Enabled
Anti-bot protection = Enabled
Google reCAPTCHA service  = Disabled

Ossec
Active response = Enabled
PAM
PAM brute-force attack protection = Enabled
Error reporting
We disable error reporting to Imunify360.
Contact details
Here you can enter an email address to receive security notifications about your server.
Step 9: Configure Imunify360 Malware
Navigate to “Imunify360 -> Settings -> Malware”
Resource consumption
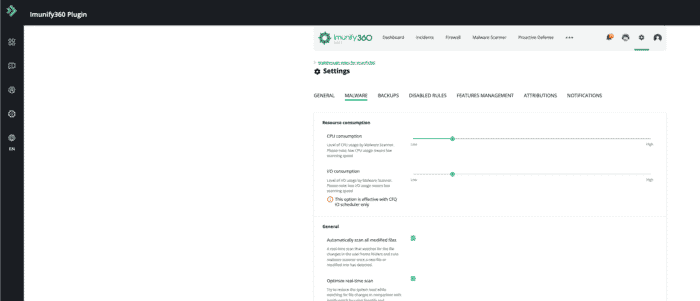
General settings
Automatically scan all modified files = Enabled
Optimize real-time scan = Enabled
Automatically scan any file uploaded using web = Enabled
Automatically scan any file uploaded using FTP = Enabled
Automatically send suspicious and malicious files for analysis = Enabled
Try to restore from backup first = Disabled
Use backups not older than (days)  = 90
Default action on detect = Cleanup
Enable RapidScan = Enabled
Binary (ELF) malware detection = Enabled
Malware Database Scanner = Enabled
- Background Scanning
Run scanning = Weekly
Run on = Sunday
Run at = 3:00 AM
- Cleanup
Trim file instead of remove = Enabled
Keep original files for =  14 days
- Proactive Defense
Enable blamer = Enabled
PHP Immunity = Enabled
Step 10: Disabled Rules
Navigate to “Imunify360″->”Settings”->”Disabled Rules”
We disable the following rules in Imunify360. You can add the exemption by clicking the “Add” button in settings.
214920 modsec " IM360 WAF: Inbound Points|Total Incoming Points; Known for creating lot of False Positives" all
77316844 modsec "Blocks Post SMTP" all
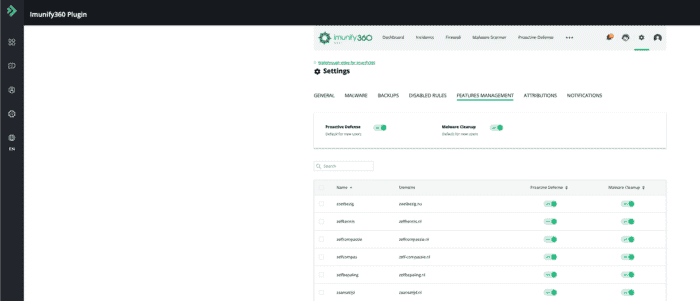
Step 11: Features Management
In this section, you can enable “Proactive Defense” and “Malware Cleanup” for your users, navigate to “Imunify360 -> Settings -> Features Management”. We activate both features for our own users in order to protect their websites and give them the ability to clean up their website if it’s infected.
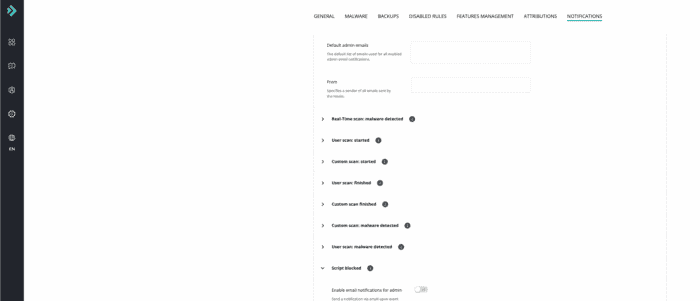
Step 12: Notifications
By default, no notification is sent. In this section, you can configure the notifications based on your needs, navigate to “Imunify360 -> Settings -> Notifications”. We have entered a “Default admin emails” and enabled the following notifications “Real-Time scan: malware detected” and “Script blocked”.
Conclusion
In this article we have covered the essential set up steps for Imunify360 in DirectAdmin to provide the optimal security and at the same time lower CPU resource usage on your server. If you have any other questions or specific requests regarding Imunify360 visit the following link.

Leave a Reply