

Learn how to enable SSH to safely connect to your Linux-server
In this article, you will learn how to enable SSH in Plesk. SSH (Secure Shell) is a secure network protocol that is used to connect to a Linux server remotely. After connecting, Every command you type within your terminal is sent to the remote server and executed there.
Prerequisites
Log in to your client area.
Go to https://my.snel.com/clientarea/ and log in.
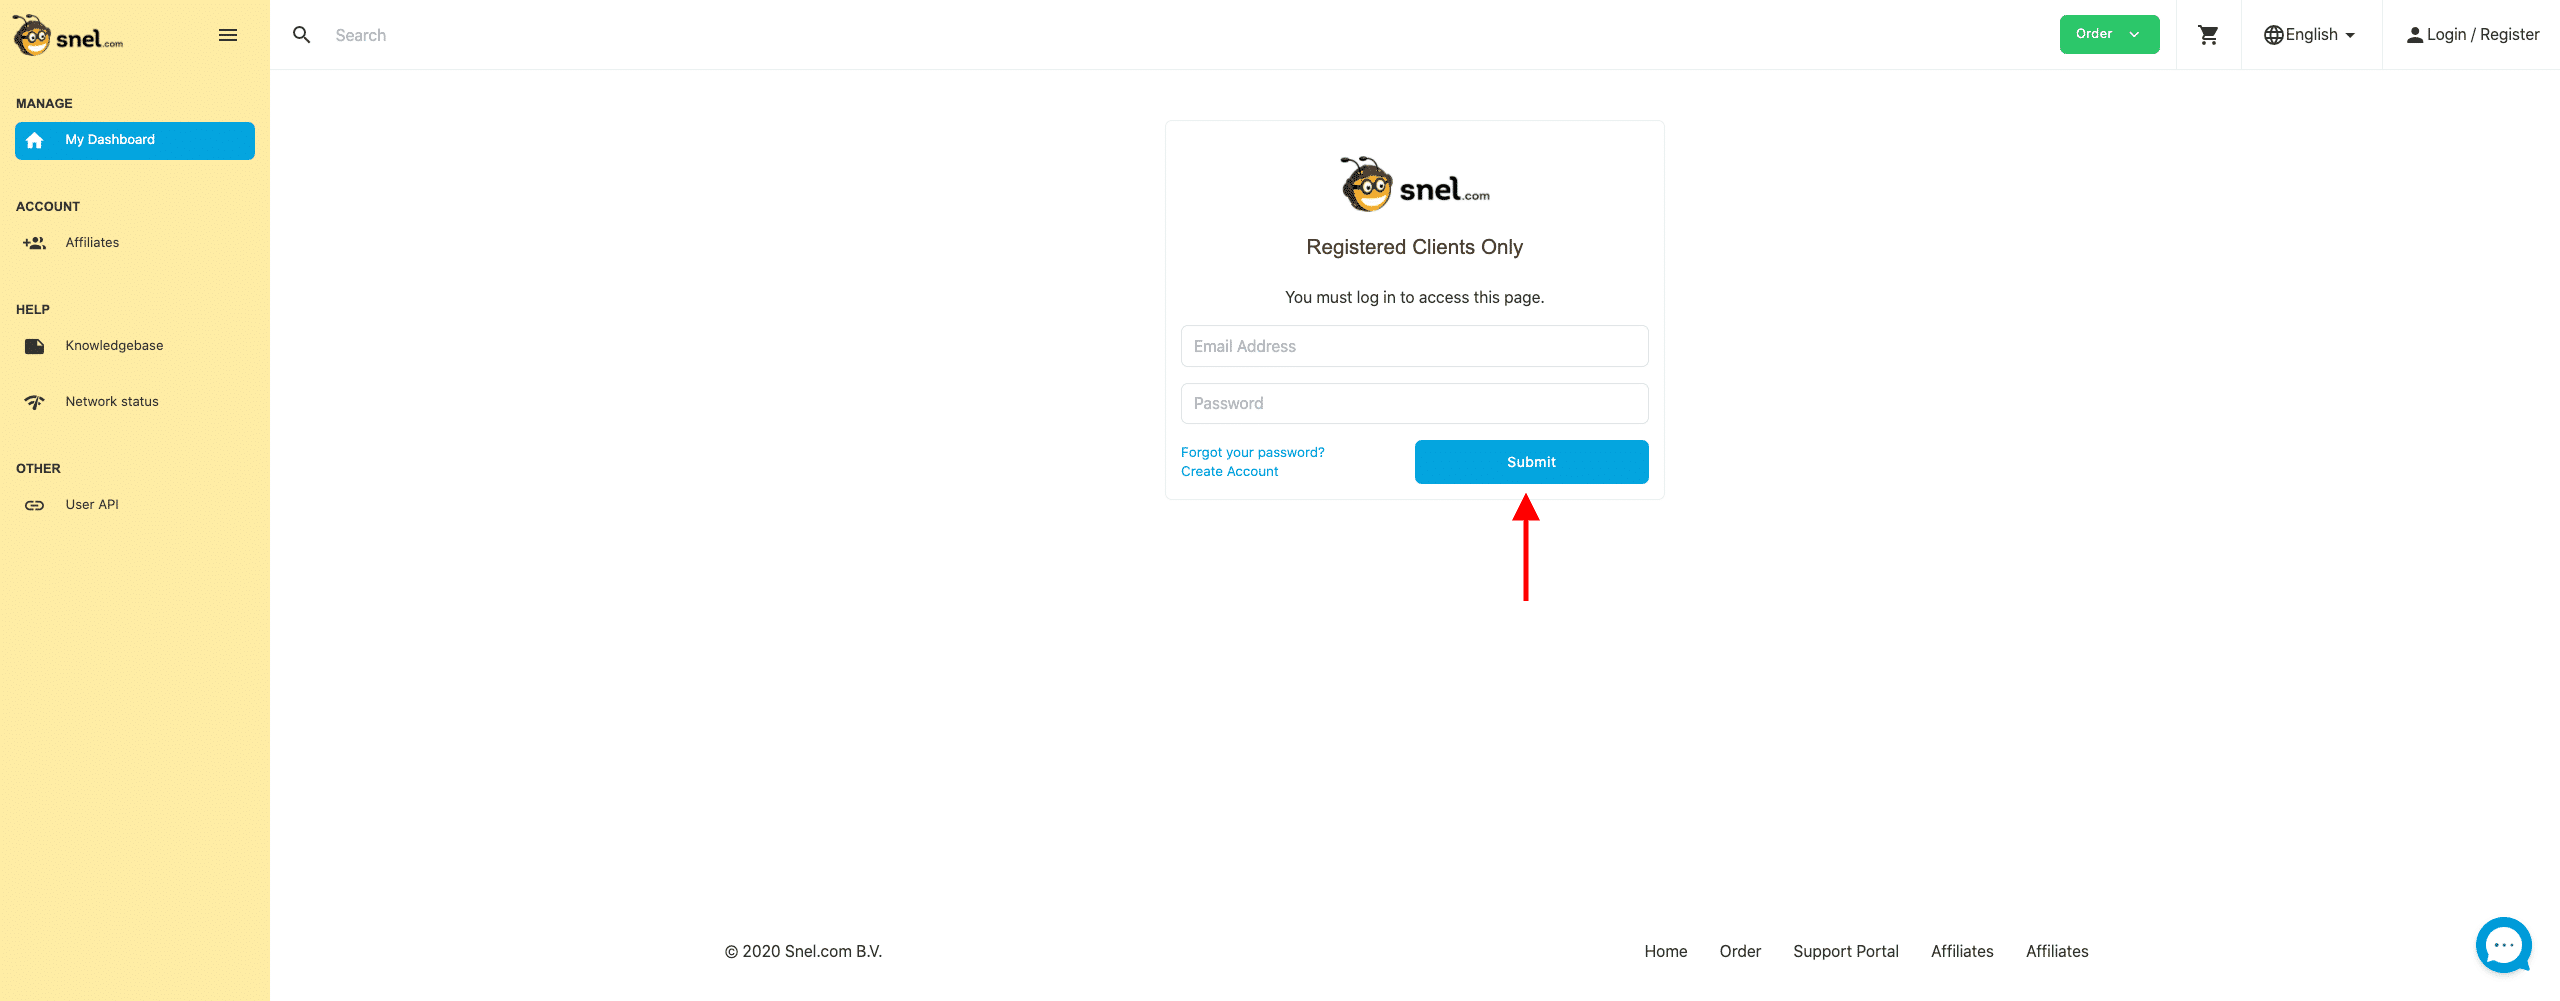
On the left side panel, click on Services.

Select Webhosting under the servicestab.

Select the right Web hosting plan.

At the left side panel, select Login Details.

Click on the URL to go to Plesk. Use the given Username and Password to log in to Plesk.

Log in to Plesk

FTP Access
After logging in, select Websites & Domains on the top left corner, then navigate to FTP Access next to the red arrow and select it.

Select the WebHost
In order to enable SSH, you have to select the system user (The WebHost). Once you have selected it, you can change the username of the system user.

System user
The system user is the one who will be able to connect to the server via SSH. You can change the username or leave it as it is but, you have to add a password. You have to change (Access to the server over SSH) to /bin/bash (chrooted)to give the system user access to the server via SSH. The IP address on the top is used to connect to the server via SSH. Once you are done filling in the empty fields click on OKto proceed.

Conclusion
Congratulations, You have successfully enabled SSH in Plesk. If you don’t know how to connect to your server via SSH, read this article to know how: Learn how to connect to your server via SSH.
Spot a mistake in this article? Email us at support@snel.com
This article was last checked on 5 November 2026. · 767 views