Privacy settings
Decide which cookies you want to allow.You can change these settings at any time. However, this can result in some functions no longer being available. For information on deleting the cookies, please consult your browser’s help function.Learn more about the cookies we use.
With the slider, you can enable or disable different types of cookies:
This website will
- Remember which cookies group you accepted
This website won't
- Remember your login details
- Essential: Remember your cookie permission setting
- Essential: Allow session cookies
- Essential: Gather information you input into a contact forms newsletter and other forms across all pages
- Essential: Keep track of what you input in a shopping cart
- Essential: Authenticate that you are logged into your user account
- Essential: Remember language version you selected
- Functionality: Remember social media settings
- Functionality: Remember selected region and country
- Analytics: Keep track of your visited pages and interaction taken
- Analytics: Keep track about your location and region based on your IP number
- Analytics: Keep track of the time spent on each page
- Analytics: Increase the data quality of the statistics functions
- Advertising: Tailor information and advertising to your interests based on e.g. the content you have visited before. (Currently we do not use targeting or targeting cookies.
- Advertising: Gather personally identifiable information such as name and location
This website will
- Essential: Remember your cookie permission setting
- Essential: Allow session cookies
- Essential: Gather information you input into a contact forms newsletter and other forms across all pages
- Essential: Keep track of what you input in a shopping cart
- Essential: Authenticate that you are logged into your user account
- Essential: Remember language version you selected
This website won't
- Remember your login details
- Functionality: Remember social media settings
- Functionality: Remember selected region and country
- Analytics: Keep track of your visited pages and interaction taken
- Analytics: Keep track about your location and region based on your IP number
- Analytics: Keep track of the time spent on each page
- Analytics: Increase the data quality of the statistics functions
- Advertising: Tailor information and advertising to your interests based on e.g. the content you have visited before. (Currently we do not use targeting or targeting cookies.
- Advertising: Gather personally identifiable information such as name and location
This website will
- Essential: Remember your cookie permission setting
- Essential: Allow session cookies
- Essential: Gather information you input into a contact forms newsletter and other forms across all pages
- Essential: Keep track of what you input in a shopping cart
- Essential: Authenticate that you are logged into your user account
- Essential: Remember language version you selected
- Functionality: Remember social media settings
- Functionality: Remember selected region and country
This website won't
- Remember your login details
- Analytics: Keep track of your visited pages and interaction taken
- Analytics: Keep track about your location and region based on your IP number
- Analytics: Keep track of the time spent on each page
- Analytics: Increase the data quality of the statistics functions
- Advertising: Tailor information and advertising to your interests based on e.g. the content you have visited before. (Currently we do not use targeting or targeting cookies.
- Advertising: Gather personally identifiable information such as name and location
This website will
- Essential: Remember your cookie permission setting
- Essential: Allow session cookies
- Essential: Gather information you input into a contact forms newsletter and other forms across all pages
- Essential: Keep track of what you input in a shopping cart
- Essential: Authenticate that you are logged into your user account
- Essential: Remember language version you selected
- Functionality: Remember social media settings
- Functionality: Remember selected region and country
- Analytics: Keep track of your visited pages and interaction taken
- Analytics: Keep track about your location and region based on your IP number
- Analytics: Keep track of the time spent on each page
- Analytics: Increase the data quality of the statistics functions
This website won't
- Remember your login details
- Advertising: Tailor information and advertising to your interests based on e.g. the content you have visited before. (Currently we do not use targeting or targeting cookies.
- Advertising: Gather personally identifiable information such as name and location
This website will
- Essential: Remember your cookie permission setting
- Essential: Allow session cookies
- Essential: Gather information you input into a contact forms newsletter and other forms across all pages
- Essential: Keep track of what you input in a shopping cart
- Essential: Authenticate that you are logged into your user account
- Essential: Remember language version you selected
- Functionality: Remember social media settings
- Functionality: Remember selected region and country
- Analytics: Keep track of your visited pages and interaction taken
- Analytics: Keep track about your location and region based on your IP number
- Analytics: Keep track of the time spent on each page
- Analytics: Increase the data quality of the statistics functions
- Advertising: Tailor information and advertising to your interests based on e.g. the content you have visited before. (Currently we do not use targeting or targeting cookies.
- Advertising: Gather personally identifiable information such as name and location
This website won't
- Remember your login details
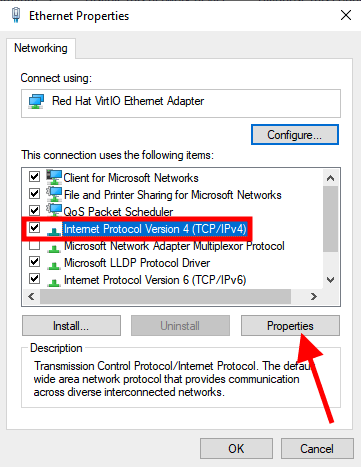
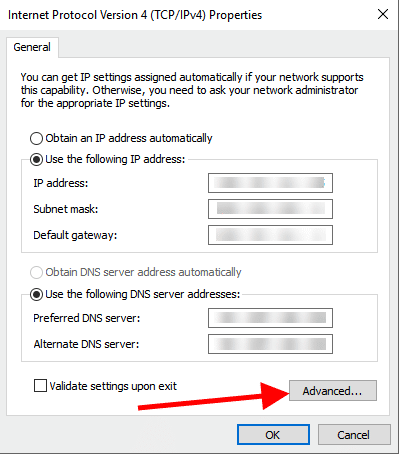
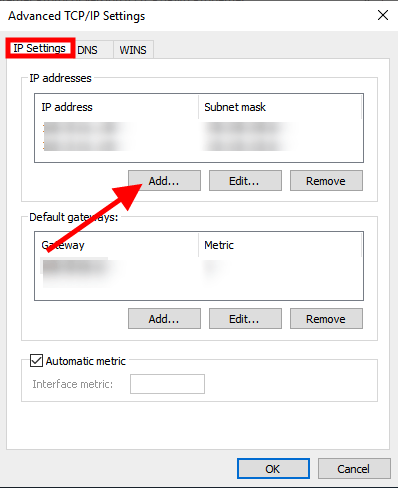
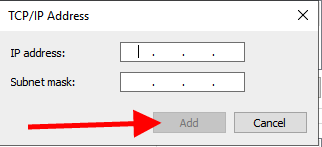

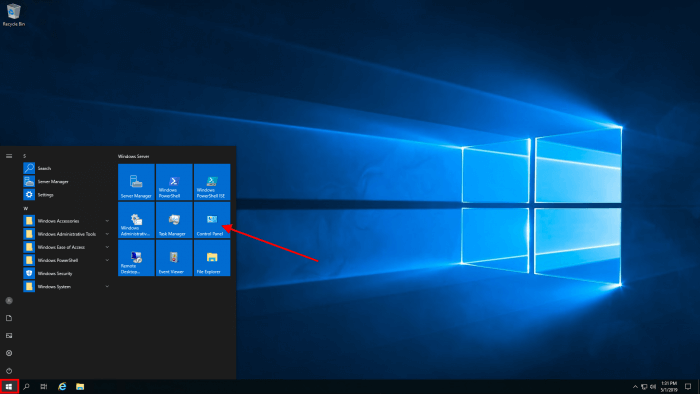
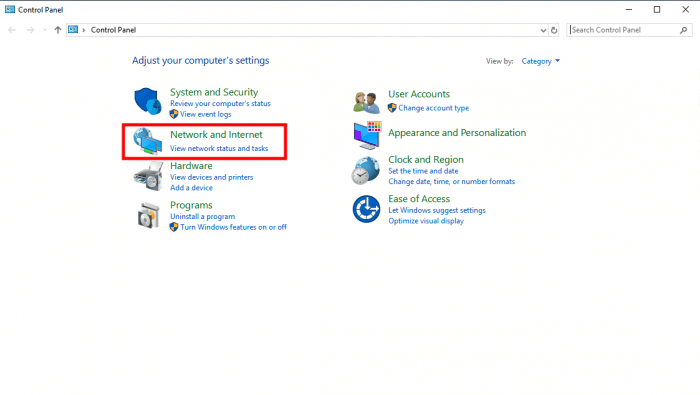
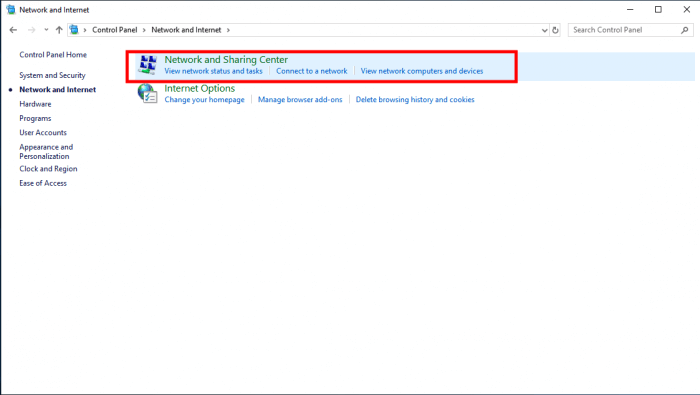
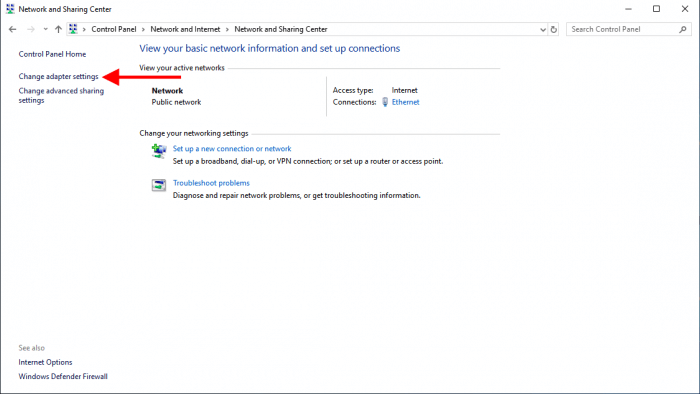
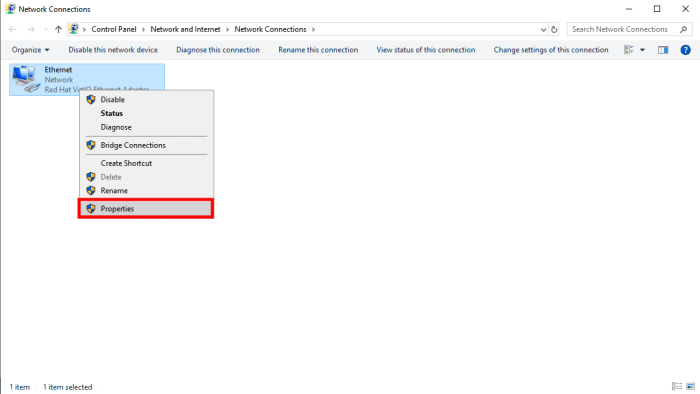


What IP address should I enter?
Can I just create any #s for an IP address?
How many additional IPs can I create?
This server is showing one private IP address of 192.168.1.145
My purpose is to host 10 to 15 websites on this dedicated Server 2019. This server will only be used to host web sites. I would like to bind each IP to a specific domain.
What IP address you should add depends on your network topology.
Having said that you don't need additional IP addresses to host multiple websites, every webserver I know supports the concept of virtual hosts which will show the correct content for any given website based on the hostname in the URL someone enters to visit the website.