What is R1Soft Continuous Data Protection?
Continuous Data Protection (CDP) is a cost-effective solution to traditional, incremental backups. This process starts in the same way as a traditional backup, a full snapshot will be made of all your data. After the first initial replica, the changing data will continuously be monitored and only the files or blocks where information has changed will be saved. The performance of your server will not be affected because the system only needs to read the changed parts of your data rather than rereading all of your data. The main benefit is that you can exclude selected files and folders from the replication or you can recover your selected files. R1Soft also allows you to determine the frequency of your replication so you can change these settings anytime you want.
What is R1soft Agent?
R1soft backup works with agents which are installed on the computers and servers that are being backed up. This agent then establishes connection with the backup server to send a copy of your data. It also helps to easily restore any backup file back to your computer or server.
There are two agents available which you can install depending on the OS your using. We have described all the steps for both agents in this article.
Installing Agent on Windows
The agent installer is a typical windows installer application. You will first need to obtain the installer here. Please read all steps carefully before performing any action.
Step 1 -Open the installation file
Step 2 -Execute the installer by clicking “Run.”
Step 3 -Verify the install destination and click on the “Install” button.
Step 4 – Click “Install” in the opened window.

Step 5 – Click “Install CDP Agent.”

Step 6 – The R1Soft CDP Agent Enterprise Edition Installer will open. Make sure all other applications are closed and click “Next.”

Step 7 – You must agree to the following license agreement. Read it to the end and click “Next” to accept.

Step 8 – The installer will check your system for possible problems. It is strongly recommended that all tests have a “Pass” status. You can repeat the tests by clicking the “Test” button. Click “Next” to go to the next screen.

Step 9 – On the next screen, choose the installation directory for the Agent. It is safe to leave the default location untouched. However, you can install the Agent to another directory if, for example, you do not have enough free space on disk C. Click “Next” to continue.
Step 10 – The configuration is complete. Click “Next” to start the installation process.

Step 11 – To finish the installation, you will need to reboot your PC. Click “Yes” in the displayed window.

The installation will be done and the agent will be ready to use after rebooting your server. The last part is adding the server key to the agent. In order to keep the CDP Agent secure, connections are only accepted from specified CDP Servers.
Step 12 – Run the Windows CDP Agent Configuration Utility.
Step 13 – Switch over to the “Authorized CDP Servers” tab.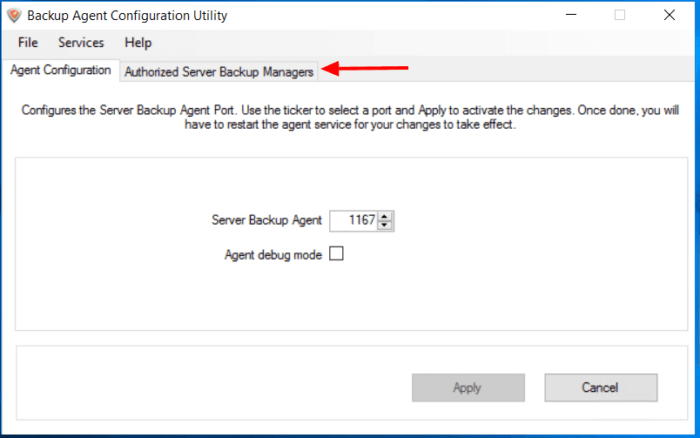
Step 14 – Click on Add

Step 15 – Fill the following information in
Filename = CDP Backup Snel
Idera Server backup Manager = 107.6.171.242

Step 16 – Click ok. The Server Key will be successfully added to the Agent database and the Backup requests from the server will be allowed. The Key name will appear on the “Authorized CDP Servers” tab. You can close the utility
Installing Agent on Debian and Ubuntu
Step 1 – Add the R1Soft repository to your sources list, and then download the R1Soft apt gpg key.echo deb http://repo.r1soft.com/apt stable main >> /etc/apt/sources.list
wget http://repo.r1soft.com/r1soft.asc
apt-key add r1soft.ascStep 2 – run apt-get update to download the information about the packages in the new repository
apt-get updateStep 3 – Install the CDP Server
apt-get install r1soft-cdp-enterprise-server Step 4 – Add the Server’s key to the Agent’s configuration
r1soft-setup --get-key http://backup.snel.comInstalling Agent on CentOS, Fedora and RHE
Step 1 – Configure YUM Repositorynano -w /etc/yum.repos.d/r1soft.repoStep 2 – Insert the following text into the file and save the file
[r1soft]

name=R1Soft Repository Server

baseurl=http://repo.r1soft.com/yum/stable/$basearch/

enabled=1

gpgcheck=0
Step 3 – Verify what is written to the file
cat /etc/yum.repos.d/r1soft.repoStep 4 – Install the package
yum install r1soft-cdp-enterprise-serverStep 5 – press Y to start the installation Step 6 – Add the Server’s key to the Agent’s configuration
r1soft-setup --get-key http://backup.snel.com
Leave a Reply